Let’s not sugarcoat it. Standard-issue apartment showers are a crime against morning routines. You either get a pathetic, sad drizzle that feels like a broken refrigerator hose, or a blinding laser-jet of hard water calcified since the George H.W. Bush administration. I’ve stared at my fair share of crusty, nickel-plated monstrosities in rental bathrooms over the past decade. And every single time, the landlord’s voice echoes in my head: “Don’t touch the plumbing.”
Here’s the ugly truth, though. Landlords say that because they assume you’re going to take a pair of rusty pliers to the main valve, strip the threading, and flood the unit below you. They aren’t entirely wrong—amateurs do destructive things. But if you know the exact secret handshake of temporary apartment upgrades, you can swap out that pathetic excuse for a shower head in under five minutes. You won’t trigger a security deposit deduction, and your morning routine will finally stop feeling like an endurance test. Let’s dive into the exact playbook I use every time I pack my bags and move into a new shoebox apartment.

- • Why Your Current Apartment Shower Head Sucks (And Why Landlords Ignore It)
- • The Golden Rule of Renter-Friendly Plumbing Modifications
- • My Step-by-Step Hack for Swapping Your Shower Head Without Losing Your Deposit
- ↳ 1. Gather Your Arsenal
- ↳ 2. The Gentle Twist
- ↳ 3. Clear the Crud
- ↳ 4. The Teflon Magic
- ↳ 5. Hand-Tighten First
- • Choosing the Right Upgrade for Maximum Impact
- ↳ Can my landlord legally charge me for changing the shower head?
- ↳ What if the old shower head won't budge?
- ↳ Do I need to turn off the main water valve to the apartment?
- ↳ What do I do with the old, ugly shower head when I move out?
Key Takeaways & Quick Overview
AI Verified
- ✔Standard-issue apartment showers are a crime against morning routines.
- ✔You either get a pathetic, sad drizzle that feels like a broken refrigerator hose, or a blinding laser-jet of hard water calcified since the george h.
- ✔I’ve stared at my fair share of crusty, nickel-plated monstrosities in rental bathrooms over the past decade.
- ✔And every single time, the landlord’s voice echoes in my head: “don’t touch the plumbing.
Why Your Current Apartment Shower Head Sucks (And Why Landlords Ignore It)
Property managers operate on a strict margin of apathy. If water comes out of the hole in the wall, the shower head is considered “functional.” They don’t care that the internal plastic flow restrictor is choked with mineral buildup, or that the spray pattern resembles a dying lawn sprinkler. To them, a plumbing fix means calling a licensed contractor at $150 an hour. Naturally, they pass on any minor aesthetic upgrades.
You shouldn’t have to suffer through high-rise pressure issues or calcified nozzles just because your name is on a lease. The hardware store is full of life-changing fixtures, but slapping them on incorrectly is a fast track to a furious landlord. You need a method that respects the physical integrity of the pipe while letting you live your best life under a high-pressure stream.
The Golden Rule of Renter-Friendly Plumbing Modifications
Never throw away the original, hideous shower head you are about to unscrew. Store it safely in a ziplock bag under the kitchen sink. When your lease ends and it’s time to move out, you simply reverse the process. It’s that simple. Zero trace left behind. Think of it as a temporary lifestyle patch for your bathroom.
Beyond saving the original hardware, the real hack lies in how you handle the connection. Most people over-tighten things out of fear of leaks, which wrecks the threads inside the shower arm. I’ve seen tenants twist off entire pipes because they treated a bathroom fixture like a lug nut on a semi-truck. Stop doing that. You need finesse, not brute force.
My Step-by-Step Hack for Swapping Your Shower Head Without Losing Your Deposit
Here is the exact blueprint. No professional experience required. Just a trip to the hardware store and a steady hand.
1. Gather Your Arsenal
Put down the hammer. You only need three things: an adjustable wrench, a roll of thread seal tape (often called plumber’s tape or Teflon tape), and a washcloth or scrap piece of rubber. The washcloth is crucial—wrap it around the metal nut of the old shower head before gripping it with the wrench so you don’t scratch or gouge the landlord’s chrome pipe.
2. The Gentle Twist
Wrap your washcloth tightly around the neck of the existing shower head. Take your adjustable wrench, clamp it over the cloth, and turn counter-clockwise (righty-loosey is inverted when you are looking straight up at the pipe). It might give a stubborn little groan, but it should break free easily. If it fights you, don’t muscle it; apply a single drop of penetrating fluid and wait five minutes.
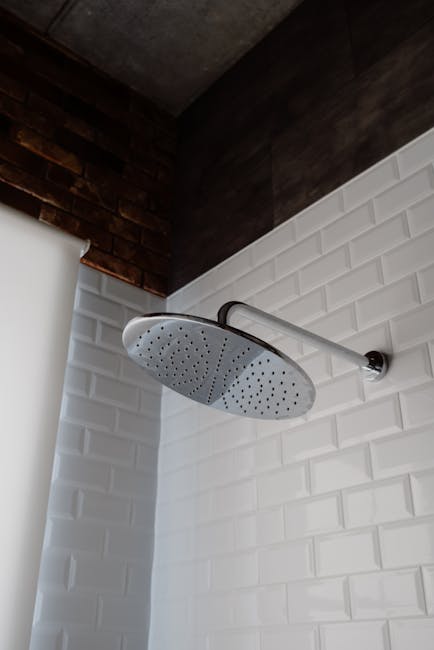
3. Clear the Crud
Once the old head is off, look at the threads protruding from the wall. They’re probably gross. Take an old toothbrush and scrub away any crusty white lime scale. Wipe it dry with a paper towel. A clean surface ensures a watertight seal without needing industrial adhesives.
4. The Teflon Magic
This is where amateurs fail. Take your plumber’s tape and wrap it clockwise around the threads of the wall pipe about 3 to 5 times. Why clockwise? Because when you screw the new shower head on, it will pull the tape tight instead of unraveling it. This creates an airtight, leak-proof barrier that requires zero liquid glue or permanent sealants.
5. Hand-Tighten First
Screw your new, gorgeous shower head on by hand, turning it clockwise. You should feel it catch smoothly. Spin it until it gets snug. Only then should you take your washcloth and wrench to give it a tiny, conservative quarter-turn to lock it in place. Turn on the water, check for rogue drips, and adjust accordingly. According to industry groups like the American Society of Plumbing Engineers, proper thread engagement is key to avoiding structural pipe strain.
Choosing the Right Upgrade for Maximum Impact
Don’t just buy the cheapest plastic option at the big-box store. If you’re going to smuggle a plumbing upgrade into your apartment, make it worth it. Look for models featuring removable flow restrictors (if you live in an area with notoriously low water pressure) while keeping an eye on EPA WaterSense standards if you want to keep your utility bills low without sacrificing spray power.
I personally prefer handheld shower heads on a flexible metal hose, even in rentals. They make cleaning the tub infinitely easier, and you can still mount them securely using the existing shower arm bracket. When you move out, everything packs flat into a cardboard box.
Frequently Asked Questions
Can my landlord legally charge me for changing the shower head?
Only if you break the plumbing infrastructure or fail to put the original fixture back when you leave. As long as you keep the old parts safe and leave zero damage, it falls under normal tenant cosmetic customization.
What if the old shower head won’t budge?
Do not force it. Spray a small amount of liquid penetrating oil (like WD-40 Specialist) onto the threads, let it sit for 15 minutes to break down the mineral bonds, and try again with the wrench and washcloth method.
Do I need to turn off the main water valve to the apartment?
Almost never. Unless your apartment has a catastrophic plumbing setup, the shower arm is controlled by the handle valve inside your shower wall. As long as the shower handle is in the “off” position, no water will come out while you work.
What do I do with the old, ugly shower head when I move out?
Unscrew your upgrade, wrap the threads with fresh plumber’s tape, and reinstall the original fixture using your wrench and washcloth. Leave the apartment exactly as you found it, minus the years of grime you scrubbed off.