My Renter-Friendly Hack for Changing an Ugly Shower Head (Without Losing Your Deposit)
Let’s talk about the rental-bathroom despair.
You know the one. You’re paying an ungodly sum for a square box of an apartment, and every time you step into the bathroom, you’re greeted by a crusty, calcified piece of plastic metal from 1994. It spits out water like a dying lawn sprinkler. It’s an aggressive, needle-thin stream that somehow manages to miss your head entirely while aggressively soaking your ears. You stare at it on day one of your lease and think, “I am going to live with this garbage for the next twelve months.”
Stop right there. Here’s the ugly truth: you don’t have to. Landlords won’t do it because it costs money and requires manual labor. But you can fix it in about four minutes. Better yet, you can do it without leaving a single trace of evidence behind when you pack up your boxes and leave. I’ve lived in six rentals over the last decade, and I’ve swapped the shower head in every single one of them. Not once have I lost a security deposit over it.

- • The Golden Rule of Rental Plumbing Modifications
- • The Gear You Actually Need (Skip the Hardware Store Upsell)
- • Step-by-Step: The Four-Minute Swap
- • What Happens When It’s Time to Move?
- ↳ Will changing my shower head violate my lease agreement?
- ↳ Do I really need Teflon tape, or can I skip it?
- ↳ What if the old shower head is completely rusted on and won't budge?
- ↳ Can I take my upgraded shower head with me to my next apartment?
Key Takeaways & Quick Overview
AI Verified
- ✔My renter-friendly hack for changing an ugly shower head (without losing your deposit) let’s talk about the rental-bathroom despair.
- ✔You’re paying an ungodly sum for a square box of an apartment, and every time you step into the bathroom, you’re greeted by a crusty, calcified piece of plastic metal from 1994.
- ✔It spits out water like a dying lawn sprinkler.
- ✔It’s an aggressive, needle-thin stream that somehow manages to miss your head entirely while aggressively soaking your ears.
The Golden Rule of Rental Plumbing Modifications
Before you even touch a tool, listen to me closely. The golden rule of apartment DIY is simple: Save every single original part in a labeled Ziploc bag.
Every washer, every crusty plastic ring, every hideous brass-plated nozzle goes into that bag. Toss that bag into the back of your sock drawer. When move-out day arrives, you simply reverse the process. Your landlord gets their sad little 1994 sprinkler back, and you take your glorious, high-pressure, massaging modern shower head with you to the next stop. It is portable luxury.
Most tenants assume plumbing is off-limits. They think touching a pipe violates the lease. But swapping a shower head doesn’t require touching the valve behind the wall. You are strictly working with the “shower arm”—that curved pipe sticking out of the tile. It’s surface-level modification. As long as you don’t snap the pipe off in the wall (which takes a terrifying amount of careless force), you are entirely in the clear.
The Gear You Actually Need (Skip the Hardware Store Upsell)
Walk into a big-box hardware store and ask for help with a bathroom project, and they will try to sell you a cart full of specialized gadgets, pipe wrenches, and expensive sealants. Throw that advice out the window.
Here is your exact shopping list:
- An adjustable wrench (or slip-joint pliers).
- A roll of PTFE plumbing tape (often called Teflon tape). It costs about a dollar.
- A shower head of your choosing. (Pro tip: Look for models certified by EPA WaterSense if your rental includes utilities and you want to keep your water bill low, though I personally prefer a high-pressure restrictor removal—don’t tell anyone I said that).
- An old hand towel or a piece of scrap cloth.
That towel is your secret weapon. Never clamp metal jaws directly onto your rental’s chrome shower arm unless you want ugly bite marks that will immediately tip off your landlord during the final walkthrough. Wrap that towel around the pipe before you grip it with the wrench. It protects the finish and maintains your plausible deniability.
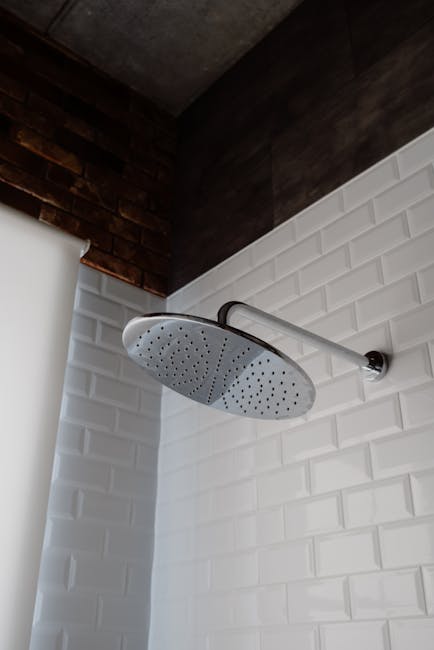
Step-by-Step: The Four-Minute Swap
Let’s get down to business. Do not rush this. Patience prevents stripped threads.
First, turn off the shower. (Sounds obvious, but you’d be surprised). Wrap your towel tightly around the base of the shower arm, right where it meets the old shower head. Take your adjustable wrench, clamp it over the towel, and turn counter-clockwise. You might need a little muscle here—years of mineral buildup act like concrete. Once it breaks free, spin it off by hand. Water might dribble out; that’s fine.
Next comes the most important part of the entire operation: cleaning the threads.
Look at the threaded end sticking out of the wall. There’s probably old, crusty white tape or gross gunk on it. Take an old toothbrush or a dry rag and scrub those threads clean. If you leave old debris there, your new shower head won’t seal properly, and you’ll get a sad little spray shooting backward at your ceiling.
Now, grab your Teflon tape. This is non-negotiable. Wrap it clockwise around the threads 3 to 4 times. Why clockwise? Because when you screw the new shower head on, it will tighten the tape down rather than bunching it up and pushing it off. Pull the tape tight as you wrap so it molds into the grooves of the threads.
Finally, screw on your new shower head. Start it by hand, turning clockwise. It should feel smooth. If it resists heavily or feels cross-threaded, back it off immediately and try again. Once it’s hand-tight, give it a tiny, gentle quarter-turn with your towel-wrapped wrench to snug it up. Turn the water on. Check for leaks at the connection. If it drips, tighten it just a hair more.
What Happens When It’s Time to Move?
Move-out day is stressful enough without worrying about landlord inspection hawks. When it’s time to pack up, you reverse the operation.
Unscrew your favorite shower head, wipe it down, and pack it in your suitcase. Pull that Ziploc bag out of your sock drawer, wrap fresh Teflon tape onto the rental pipe, and screw the original hideous fixture back on. Hand-tighten it, wipe down the tile, and walk away with your deposit intact and your morning showers forever improved.
It’s a small, petty victory against the sterile, depressing nature of renting. But trust me on this—standing under a luxurious rainfall stream in an apartment where nothing else works right makes every single lease payment feel just a little bit more tolerable.
Frequently Asked Questions
Will changing my shower head violate my lease agreement?
Generally, no. Leases restrict structural changes, painting, and permanent plumbing alterations (like moving pipes behind the wall). Swapping a screw-on shower fixture is considered standard tenant maintenance or cosmetic updating, provided you put the original back before you leave.
Do I really need Teflon tape, or can I skip it?
You can try skipping it, but prepare to get wet in unexpected places. Teflon tape fills the microscopic gaps between the male and female threads. Without it, water pressure will find a way to leak out, resulting in a frustrating spray and low water pressure where you actually want it.
What if the old shower head is completely rusted on and won’t budge?
Don’t force it with brute strength, or you risk twisting the pipe inside the wall (which *will* cost you your deposit). Instead, spray the connection with a penetrating oil like WD-40, let it sit for twenty minutes to dissolve the mineral deposits, and try again with the wrench.
Can I take my upgraded shower head with me to my next apartment?
Absolutely. That is the entire point of this hack. As long as you kept the original parts in that Ziploc bag and reinstalled them before moving out, your upscale shower head is yours to keep forever.