My DIY Idea for a Monitor Riser with Hidden Storage Underneath Guide
I’ve noticed something annoying about modern desk setups. We spend thousands on ergonomic chairs, mechanical keyboards with custom switches, and ultra-wide displays. Yet, our actual desktops look like a disaster zone of loose dongles, sticky notes, and stray pens. Here’s the ugly truth: most commercial monitor stands are overpriced pieces of plastic or pressboard that wobble like a loose tooth. They don’t solve the real clutter problem. They just lift your screen up a few inches. So, I got fed up last month, walked into the garage with a circular saw, and decided to engineer my own solution. This is my exact blueprint for building a DIY monitor riser with hidden storage underneath that actually holds your gear, matches your decor, and takes less than a Saturday afternoon to complete.
- • Why Commercial Risers Miss the Mark (And Why Wood Wins)
- • Materials and Cut List: Getting It Right the First Time
- ↳ The Master Cut List
- • Step-by-Step Assembly: From Raw Planks to Desk Centerpiece
- ↳ 1. Dry Fit Your Pieces
- ↳ 2. Fastening Without Ugly Screw Heads
- • Finishing Touches: Protecting Your Wood and Your Sanity
- ↳ How high should a DIY monitor riser be?
- ↳ Will 3/4-inch plywood sag under a heavy monitor?
- ↳ Can I add built-in USB ports or cable management holes?
- ↳ What is the easiest way to hide power strips underneath?
Key Takeaways & Quick Overview
AI Verified
- ✔My diy idea for a monitor riser with hidden storage underneath guide i’ve noticed something annoying about modern desk setups.
- ✔We spend thousands on ergonomic chairs, mechanical keyboards with custom switches, and ultra-wide displays.
- ✔Yet, our actual desktops look like a disaster zone of loose dongles, sticky notes, and stray pens.
- ✔Here’s the ugly truth: most commercial monitor stands are overpriced pieces of plastic or pressboard that wobble like a loose tooth.
Why Commercial Risers Miss the Mark (And Why Wood Wins)
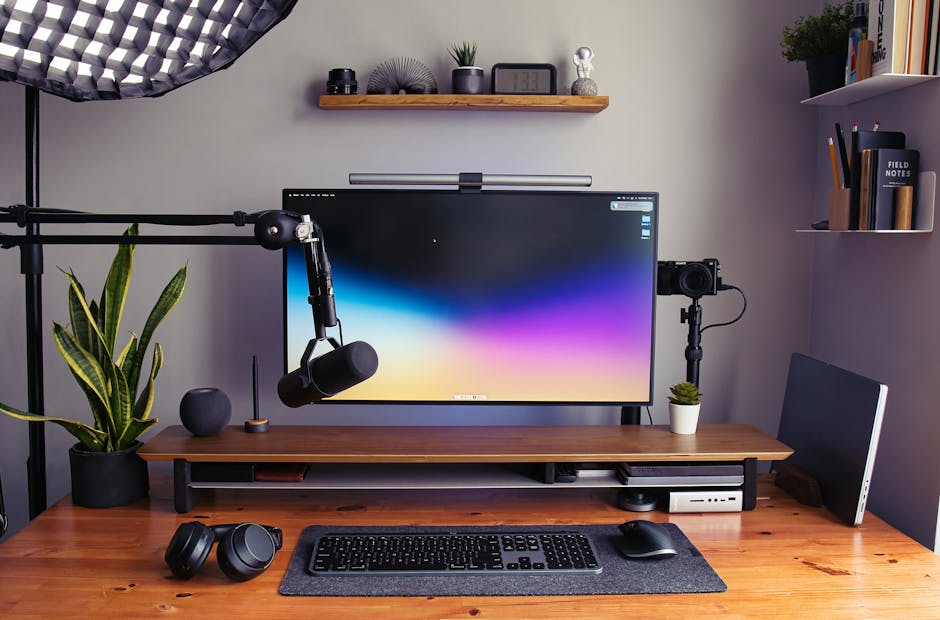
Go ahead and search online for a monitor stand. You’ll find tempered glass sheets that slide across your desk, or mesh metal trays that flex every time you lean on your elbows. None of them give you private, enclosed space. Trust me on this: you need a cavity underneath that is tall enough to slide your full-sized mechanical keyboard, mouse, and notepad completely out of sight when you clock out.
When designing this build, I had three non-negotiable requirements:
- It had to match the ergonomic monitor placement guidelines recommended by occupational safety experts to prevent chronic neck strain.
- It needed a seamless, minimalist aesthetic without visible hardware screaming “I was built in a garage.”
- It required an internal clearance of at least 3.5 inches to swallow bulky keyboards and audio interfaces.
- Top Platform: 1 piece cut to 24 inches wide by 8.5 inches deep.
- Side Risers: 2 pieces cut to 3.5 inches high by 8.5 inches deep.
- Optional Back Stop: 1 piece cut to 22.5 inches wide by 2.75 inches high (prevents your keyboard from sliding too far back).
To achieve this, forget flimsy pine boards from the bargain bin. You want to look into proper hardwood lumber grades or a high-grade 3/4-inch birch plywood that won’t sag under the weight of a heavy 34-inch ultrawide display.
Materials and Cut List: Getting It Right the First Time
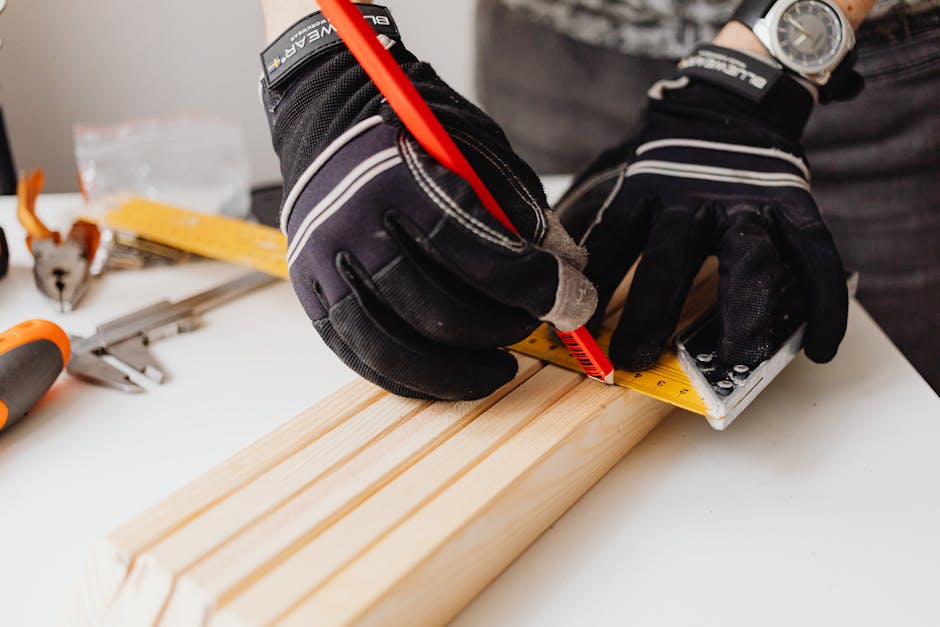
Precision is everything here. If your cuts are off by even a millimeter, your riser will rock, and you’ll spend half your Sunday trying to shim it with folded cardboard. For this build, I used a single 1×8 board of select-grade red oak, spanning six feet. It gave me enough material for the top shelf, two sturdy side supports, and a back modesty panel if I wanted to completely enclose the storage bay.
The Master Cut List
Don’t just eyeball these dimensions at the big-box hardware store. Ask them to make rough cuts, or better yet, use a track saw at home to get dead-square edges. Sand every piece down with 120-grit sandpaper first, moving up to 220-grit before you even think about assembly. Smooth wood takes finish infinitely better.
Step-by-Step Assembly: From Raw Planks to Desk Centerpiece
Now comes the fun part. You don’t need a massive workshop or thousands of dollars in clamps to pull this off. A tube of strong wood glue, a cordless drill, and a countersink drill bit are your best friends.
1. Dry Fit Your Pieces
Before applying a single drop of glue, set the side risers on end and place the top platform across them. Check for square. Look at how the grain patterns flow. If one side of the wood looks wild and chaotic, face it toward the back so your front-facing view looks clean and intentional.
2. Fastening Without Ugly Screw Heads
Nobody wants to look at shiny drywall screws on top of their custom wood riser. Instead, flip the top platform face-down on your workbench. Apply a generous bead of wood glue along the top edge of your side risers. Press them firmly into position, aligning the back and sides flush.
Drill pilot holes through the top platform into the side supports using your countersink bit. Drive your wood screws so they sit slightly flush or just beneath the surface. If you want to get fancy, use wooden dowel pins or pocket holes from the inside. Personally? I countersunk wood screws and filled the holes with matching oak wood filler, sanding it flat once dry. It practically disappears under a coat of Danish oil.
Finishing Touches: Protecting Your Wood and Your Sanity
Raw wood stains easily from spilled coffee or the natural oils on your hands. You need a protective finish. I skipped polyurethane because it can look overly glossy and plastic. Instead, I rubbed on two coats of a natural hard-wax oil. It sinks deep into the grain, highlights the natural color of the oak, and leaves a silky-matte texture that feels incredible to the touch.
Pro-tip: Stick four small rubber bumper pads or felt dots on the bottom of the side risers. This stops the stand from sliding around when you aggressively push your keyboard underneath after an intense gaming session or a rushed work deadline.
Frequently Asked Questions
How high should a DIY monitor riser be?
Generally, the top of your monitor screen should be at or slightly below eye level. For most desks, a height between 3.5 to 5 inches is the sweet spot to prevent neck strain and hunching.
Will 3/4-inch plywood sag under a heavy monitor?
No, high-grade 3/4-inch plywood or solid hardwood easily supports up to 50-75 pounds over a 24-inch span without any noticeable deflection or bowing over time.
Can I add built-in USB ports or cable management holes?
Absolutely. Before assembling the pieces, use a hole-saw drill attachment to cut a clean grommet hole in the back panel or top shelf for routing power cables and USB cords cleanly out of sight.
What is the easiest way to hide power strips underneath?
Mount a small, heavy-duty surge protector or power strip directly to the underside of your desktop or tuck it behind the riser’s hidden compartment. This keeps your power cords entirely off the floor and out of your field of view.